Short answer: to protect wp-admin by country and IP, set a geo-blocking plugin to protect the backend only, allow your own IP addresses first, then either block the countries that attack you (blacklist) or allow only the countries your team works from (whitelist). Your public site stays open to everyone, while most automated login attacks never reach the login form.
If you look at your server logs, you will almost certainly see requests to /wp-login.php and /xmlrpc.php from IP addresses you don't recognise. These are bots trying common usernames and leaked passwords, all day, on millions of WordPress sites. This guide shows how to shut most of that traffic out at the door, without affecting your visitors or customers.
Why wp-admin is the most attacked part of WordPress
- Every WordPress site has the same login URL. Bots don't need to find it.
- Brute-force and credential-stuffing attacks are cheap. One bot network can try thousands of passwords per hour across many sites.
- Each attempt uses server resources. Even failed logins run PHP and database queries, which can slow your site down.
Your administrators usually work from one or a few countries. Bots come from everywhere. That difference is what makes country-based protection for the backend so effective.
How the protection works
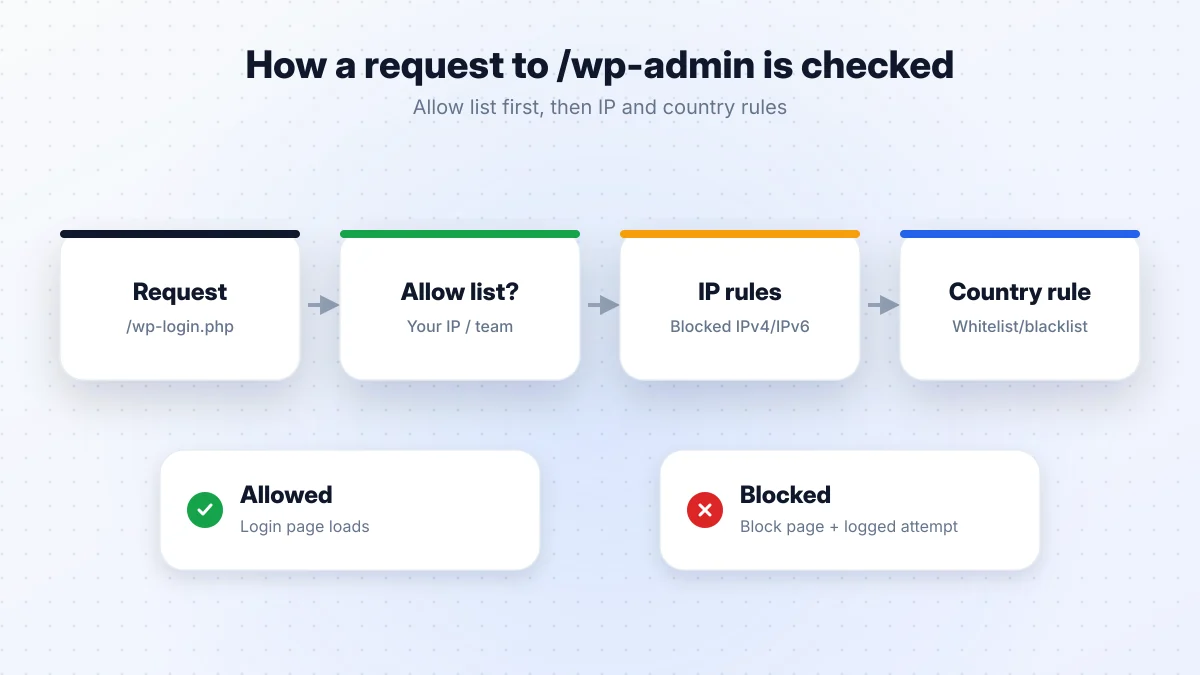
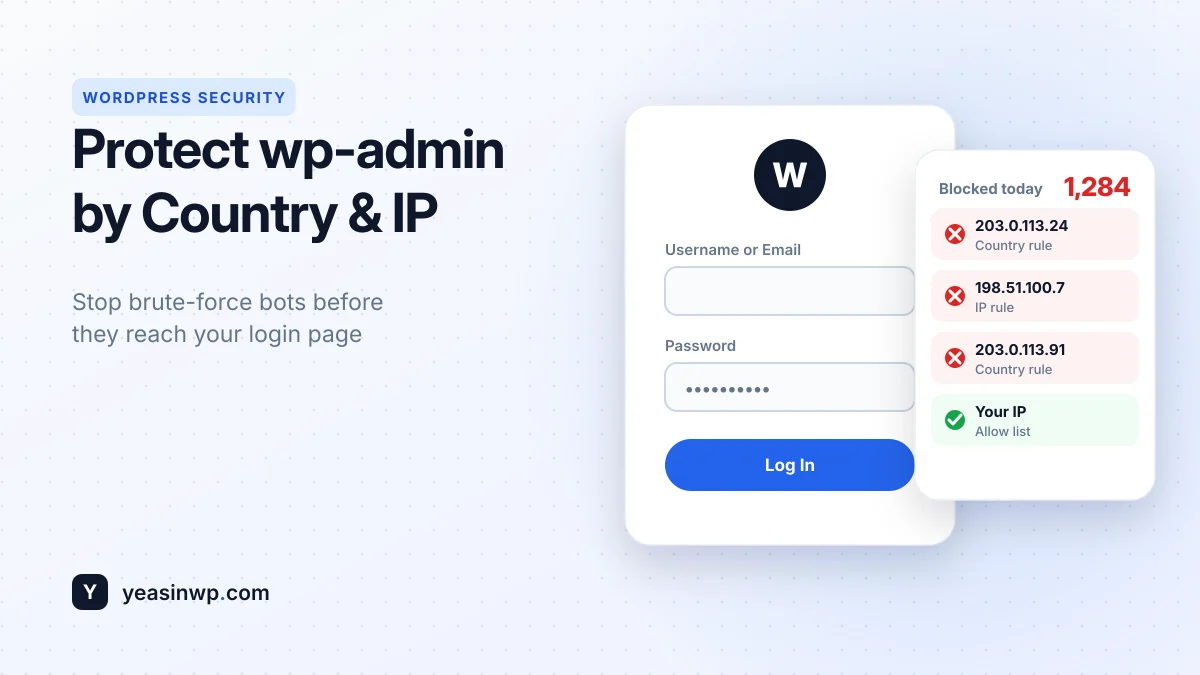
When a request comes in for the login page or admin area, the plugin checks it in order:
- Allow list: is this your IP, or a team member's? If yes, let it through.
- IP rules: is this IP on your block list? If yes, block it.
- Country rule: is the visitor's country blocked (blacklist) or not on the allowed list (whitelist)? If so, block it.
Blocked visitors see a short "access restricted" page instead of the login form, and the attempt is logged.
Step-by-step setup with Yeasin Geo-Blocker
Step 1: Find your own IP address
Before you change anything, find the public IP of every place you log in from (home, office, your VPN). Search "what is my IP" from each network and note the addresses. This step prevents the most common mistake: locking yourself out.
Step 2: Install the plugin
- Go to Plugins → Add New and search for Yeasin Geo-Blocker.
- Install and activate. Open the new Geo-Blocker menu.
The free plugin is on WordPress.org.
Step 3: Add your IPs to the allow list
Add the IPv4 and IPv6 addresses from step 1 to the allow list. These IPs always get through, whatever the country rules say.
Step 4: Set the scope to Backend
Choose Backend as the protection scope. This applies the rules to wp-admin and the login page only. Your homepage, blog and store stay open to the whole world.
Step 5: Choose blacklist or whitelist
- Whitelist (recommended for small teams): allow only the countries your admins and editors work from. Everything else is blocked from the login page. This is the strongest option.
- Blacklist: block the countries that show up most in your attack logs. Use this if your team is spread across many countries.
Step 6: Write a clear block message and save
Use the visual editor to set the message blocked visitors see. For the backend, something short like "Access to this area is restricted" is enough. Click Save Settings.
Step 7: Test from outside
Log out and visit /wp-admin from your allowed network. You should see the login form. Then test from a phone on mobile data (with a different IP) or ask a colleague abroad. If their country is not allowed, they should see the block page.
Running behind Cloudflare?
If your site is behind Cloudflare or another proxy, a basic security plugin may see Cloudflare's IP address instead of the visitor's. Then it either blocks no one or blocks everyone. Yeasin Geo-Blocker supports Cloudflare and proxy headers and detects the real visitor IP, so your rules apply to the actual person, not the proxy.
Combine with these basics
Country and IP rules stop most automated attacks, but they work best as one layer of a simple security setup:
- Use strong, unique passwords and a password manager for every admin account.
- Turn on two-factor authentication for administrators.
- Don't use "admin" as a username.
- Keep WordPress, themes and plugins updated.
- For very large attacks, also block at the CDN or firewall level, before traffic reaches WordPress.
Monitor what is being blocked
The Geo-Blocker dashboard shows a "Blocked Today" counter and a log of the last 100 blocked attempts, with IP address, country and the URL requested. After a few days you'll see which countries and IPs target your login most, and you can tighten the rules.
Advanced protection with Pro
Yeasin Geo-Blocker Pro adds tools that matter for busy sites and agencies:
- VPN, Tor and API blocking, so attackers can't simply hop through an anonymising network.
- Rate limiting against bots and brute-force attempts.
- Secret bypass links: give a team member a private link that lets them through, even when travelling, without changing your rules.
- CSV export of blocked attempts, and automatic weekly MaxMind database updates so country data stays current.
Pro is a one-time payment with lifetime updates, starting at $29 for 2 sites.
Conclusion
Protecting wp-admin by country and IP is one of the simplest security wins in WordPress. Allow your own IPs first, set the scope to backend only, choose a whitelist if your team works from a few countries, and test from outside. Most bot traffic will never see your login form again. To block countries on your public site as well, read How to Block Countries in WordPress.